
User Guide
Stickers and Text
Choosing and inserting stickers

You can add stickers to your ecard front, inner and envelope. Click/tap the smiley icon to open the sticker sets. The diagrams below show you how to add and control stickers.
Sticker sets
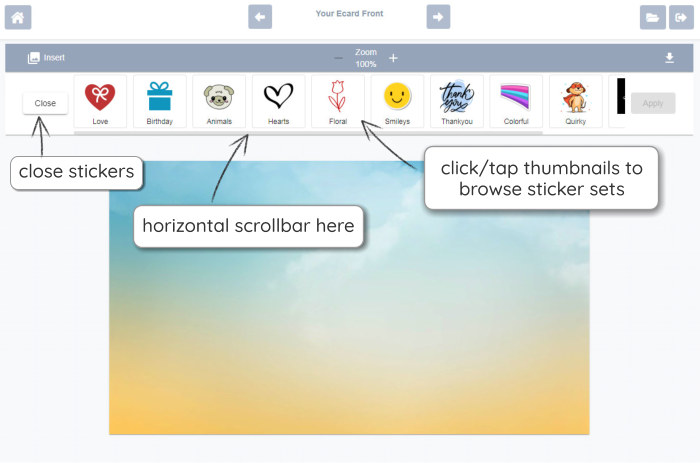
Inserting a sticker
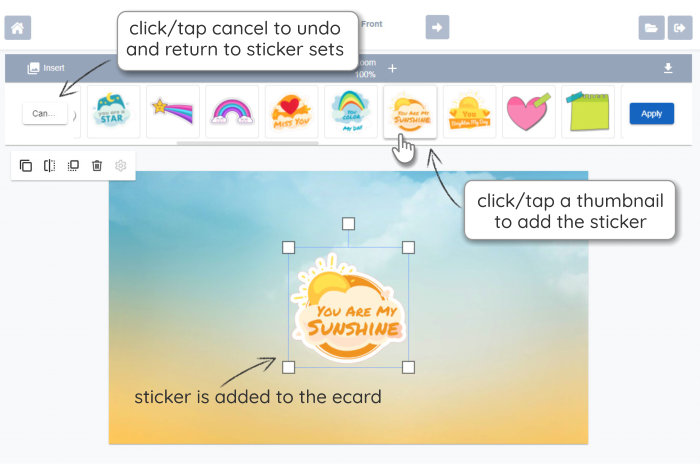
Sticker size and position
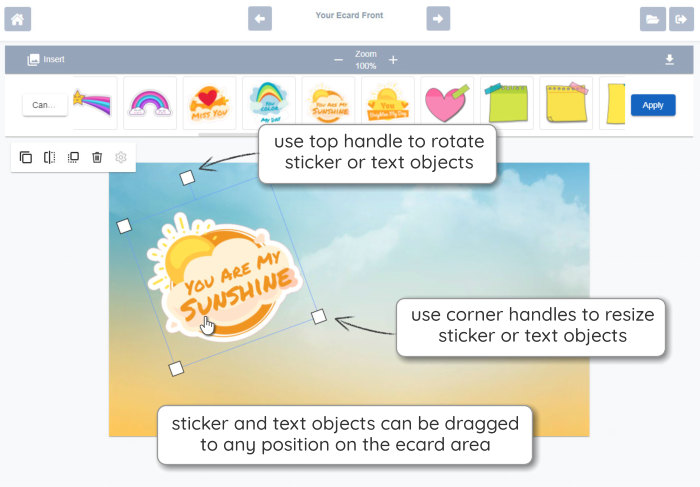
Card front designs may have built-in elements that occupy space, so position stickers accordingly. Also, the artwork and colours of the design may suit some stickers better than others. Watch the demo's for examples. Try out ideas, you can edit until you are happy with the result!

Drag & Drop objects to position them. With mouse: left-click object and hold. iPad/tablet/phone: tap object and hold.
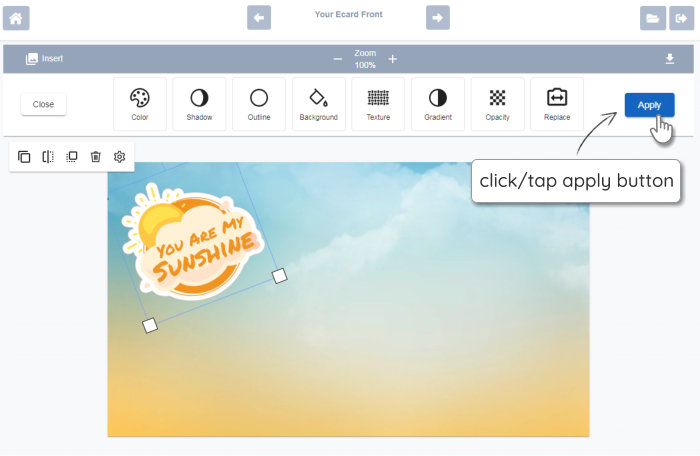
Options
The options bar is shown when a sticker is selected (the border with small white square handles appears around the object to indicate that it is selected.)
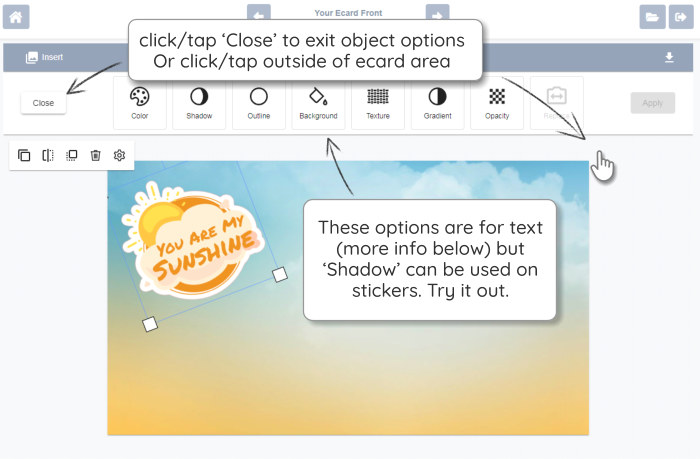
Please note that the options are primarily for use with text, rather than stickers. 'Shadow' can be added to stickers, but in most cases you will probably just want to resize and position them.
If you need to delete a sticker, click/tap a sticker to select it, then click the small bin icon in the floating toolbar. If you are on a desktop computer you can also hit the delete key.

The floating toolbar appears when a sticker or text object is selected. From left to right, actions are: Duplicate, Flip, Bring to front (useful for when you want to position stickers or text next to each other with some overlap) and Delete. The cog icon is disabled.
 Menu
Menu